
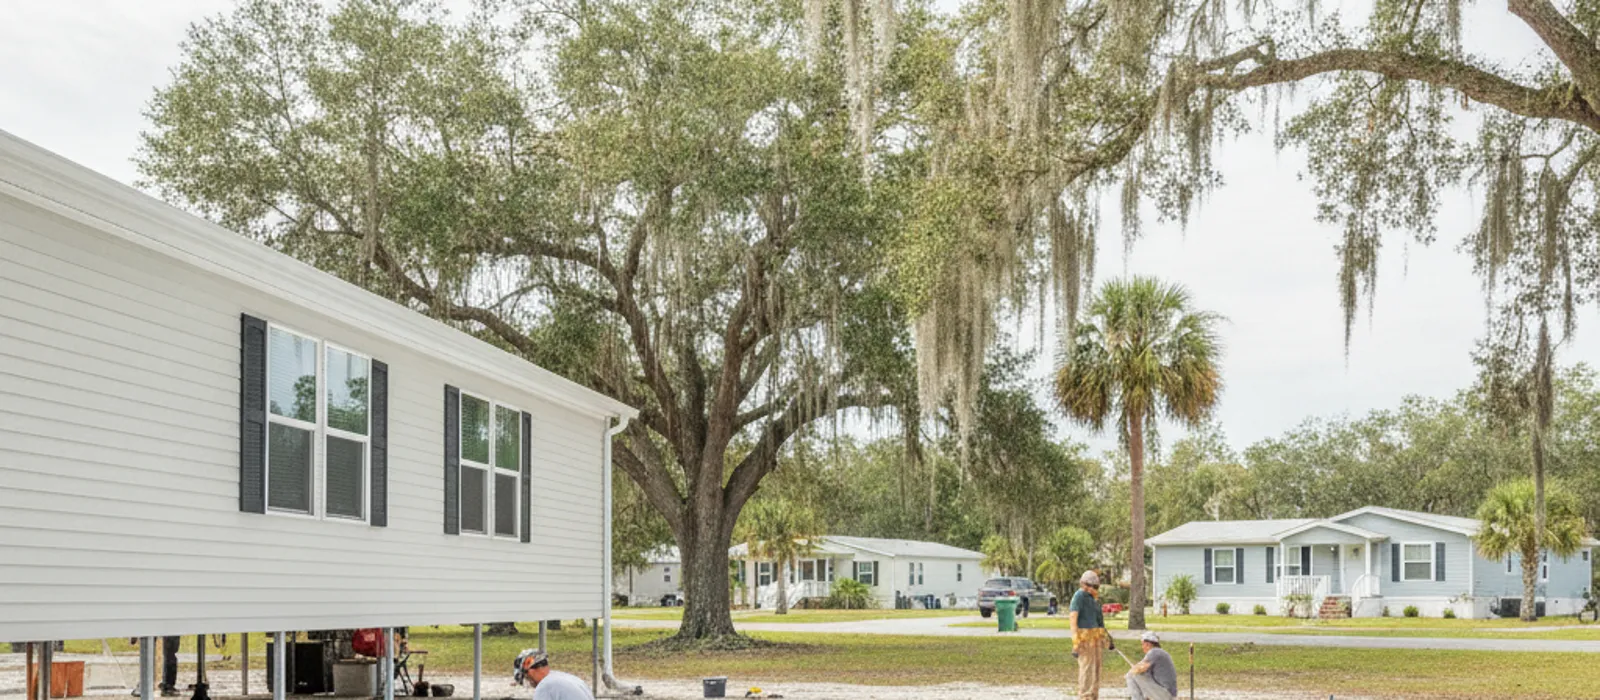
Pull back the skirting on most mobile homes in Marion County and you’ll find one of two things: bare sand, or a shredded sheet of plastic that quit working years ago. Either way, the ground under that home is pumping gallons of water vapor into the frame, the insulation, and the subfloor every single day.
Picking the best vapor barrier for a mobile home isn’t complicated, but the difference between the right material and the wrong one is huge. The right one lasts 20 years and keeps your floors dry. The wrong one shreds in two summers and leaves you paying for subfloor repairs that cost five times what the plastic did.
Our crews at Ocala Level Pros spend a lot of time under homes in Ocala, Belleview, Summerfield, and the rest of Marion County. Here’s what we install, what we rip out, and what the numbers actually look like.
Why the Ground Under Your Home Is the Real Problem
Florida sits on wet sand. Even in the dry season, the soil under your home releases moisture around the clock. Estimates from building science research put ground evaporation at several gallons of water per day under an average-sized home. That vapor rises, hits your cool belly board and subfloor, and condenses.
Over time, that constant dampness causes real damage:
- Soggy fiberglass insulation that sags out of the belly wrap
- Soft spots and rot in the subfloor
- Mold on the underside of the floor decking
- Rusted anchor heads, straps, and pier hardware
- Musty smells inside the home that never quite go away
The EPA is blunt about the fix: you can’t control mold without controlling moisture first. Their guidance on mold and moisture is worth a read at epa.gov/mold. Under a mobile home, controlling moisture starts with a ground vapor barrier.
If you’re already seeing standing water or damp soil under your home, that’s a separate drainage problem a barrier alone won’t fix. Our post on water under a mobile home walks through that.
Not sure what’s under your home right now? We’ll crawl under there and tell you, with photos. Request a free written estimate or call (352) 820-4441. It costs you nothing to know.
What Makes the Best Vapor Barrier for a Mobile Home in Florida
A ground vapor barrier is just a sheet of plastic laid over the soil in the crawl space, lapped and held down so vapor can’t get past it. Simple job, but the material specs matter. Here’s what to look for.
Thickness of 10 mil or more. A “mil” is one-thousandth of an inch. Building codes generally allow 6-mil polyethylene as a minimum, and 6-mil works fine on smooth, debris-free ground. But Central Florida crawl spaces have roots, limestone chips, old pier rubble, and armadillos. A 10-mil or thicker sheet survives all of that far better. For the small price difference, 10 mil is what we recommend on almost every job.
String reinforcement. Reinforced poly has a nylon or polyester scrim (a woven grid) laminated between plastic layers. If it gets punctured, the tear stops at the grid instead of running six feet. Under a home that gets crawled on for plumbing and leveling work, reinforcement matters as much as thickness.
Low permeance. Look for a perm rating of 0.1 or lower, which qualifies as a Class I vapor retarder. Virgin polyethylene sheeting hits this easily. The U.S. Department of Energy explains perm ratings and vapor retarder classes at energy.gov.
Virgin resin, not recycled. Cheap black poly at the hardware store is often made from recycled resin with inconsistent quality. It gets brittle fast in heat, and under a Florida mobile home it bakes all summer. Look for products labeled ASTM E1745 compliant, which is the standard written for vapor retarders in contact with soil.
UV stability if any light reaches it. Vented skirting lets in sunlight. A UV-stabilized sheet won’t crumble at the edges where light hits.
So the short answer: the best vapor barrier for a mobile home in Florida is 10-mil (or heavier) string-reinforced virgin polyethylene, ASTM E1745 rated, seams overlapped 12 inches and taped, edges secured. That’s the spec. Everything else is a compromise.
Vapor Barrier Materials Compared: Buy, Maybe, and Skip
Here’s how the common options stack up for a typical double wide (roughly 1,500 square feet of ground coverage), material cost only:
| Material | Typical Cost (Double Wide) | Lifespan Under a Home | Verdict |
|---|---|---|---|
| 10-12 mil string-reinforced poly | $300 to $550 | 20+ years | Buy this |
| 6-mil virgin poly (ASTM E1745) | $150 to $250 | 8 to 15 years | Acceptable on clean, smooth ground |
| 6-mil recycled “construction film” | $80 to $140 | 2 to 5 years | Skip it |
| Clear 2-4 mil painter’s plastic | $40 to $80 | 1 to 2 years | Skip it, always |
| Landscape fabric | $60 to $120 | N/A | Skip it, it’s not a vapor barrier at all |
| 20-mil crawl space liner | $700 to $1,200 | 25+ years | Overkill for most, nice for homes with frequent under-home access |
Two things jump out. First, the difference between junk plastic and the good stuff is a couple hundred dollars on a job that should last two decades. Second, landscape fabric shows up under homes constantly and it does nothing. It’s designed to let water pass through. That’s the opposite of the job.
Here’s what skipping the good stuff looks like in practice. Ruth in Belleview bought a used 2005 double wide last year. The seller had stapled clear painter’s plastic over the dirt to pass a quick look-under. Eighteen months later her hallway floor went spongy. Our crew found the plastic shredded into confetti, wet insulation hanging down, and mold blooming on the decking. The barrier that would have prevented it: about $1,400 installed. Her actual bill: $1,450 for a proper reinforced barrier plus $2,800 in subfloor repairs. The cheap plastic cost her three grand.
For a full breakdown of installed pricing, see our guide to vapor barrier cost for a mobile home.
Ground Barrier vs. Belly Wrap: You Usually Need to Check Both
People use “vapor barrier” for two different things on a mobile home, and mixing them up causes expensive confusion.
The ground vapor barrier is the plastic on the soil. Its job is to stop ground moisture from evaporating into the crawl space.
The belly wrap (or bottom board) is the black fabric-like sheet attached to the underside of the home itself. It holds the insulation up and keeps moisture, dust, and animals out of the floor cavity. On most homes it’s a woven polyethylene material.
A perfect ground barrier won’t save you if the belly wrap is torn open. Dale in Dunnellon learned that one the hard way. He’d paid for a decent 6-mil ground barrier a few years back, but a plumber had sliced a four-foot gash in his belly board fixing a leak and never sealed it. Humid air poured into the floor cavity through that gash all summer. By the time Dale called us about a musty smell, the insulation in two bays was soaked and sagging. Repair bill: $2,200 for belly board patching, new insulation, and drying things out.
So when you evaluate the moisture protection under your home, look at three layers: the ground barrier, the belly wrap, and the skirting ventilation that lets the crawl space breathe. If skirting panels are buckling or vents are blocked, moisture gets trapped no matter how good the plastic is. Our mobile home skirting service in Ocala handles that layer, and we inspect the belly during every barrier install.
Installation Details That Make or Break a Mobile Home Vapor Barrier
The best vapor barrier material in the world fails if it’s thrown down like a picnic blanket. These details separate a 20-year install from a 2-year one:
Clear the ground first. Rake out roots, glass, chunks of concrete, and old fallen debris. Sharp points under the sheet become holes within months.
Overlap seams 12 inches and tape them. Vapor finds every gap. We overlap a full foot and seal seams with vapor barrier tape, not duct tape, which lets go in humidity.
Seal around piers, not just near them. Cut the sheet to fit around each pier and tape the collar. Loose flaps around 20 piers add up to a lot of open ground.
Run it up to the skirting line and secure the edges. We weigh or pin the perimeter so wind through the skirting vents can’t lift and fold the sheet.
Leave the vents alone. A ground barrier works with skirting ventilation, not instead of it. Blocking vents to “keep moisture out” traps it instead.
Fix the ground before you cover it. If piers are sinking or the home is out of level, get that corrected first. Nobody wants to slice up a fresh barrier six months later for a releveling job. If your doors are sticking or floors slope, read up on the signs a mobile home needs leveling before you schedule barrier work, or have us check both in one visit through our mobile home leveling service in Ocala.
Marcus in Summerfield is a good example of sequencing it right. He called us for a barrier quote and mentioned his back door had started rubbing. Our crew found two piers that had settled into a soft spot. We releveled the home for $700, then installed a 12-mil reinforced barrier for $1,350, all in one trip. Done in the other order, the leveling work would have chewed up his new plastic.
When to DIY and When to Call a Pro
Can you install a ground vapor barrier yourself? On a small single wide with tall skirting, dry ground, and no belly damage, a fit homeowner can do a serviceable job over a weekend. Material runs a few hundred dollars, and the work is mostly patience and crawling.
But stop and call a professional if you hit any of these:
- Standing water or muck. There’s a drainage problem to solve first, and a barrier over wet soil just makes a water bed.
- Mold smell or visible growth. Sealing mold under plastic doesn’t kill it. See our post on mold under a mobile home for why remediation comes first.
- Torn belly board or hanging insulation. Belly repairs need the right materials and someone who knows what they’re looking at.
- Less than 18 inches of clearance. Tight crawls are genuinely dangerous for untrained people. Heat exhaustion under a Florida mobile home in July is no joke.
- Wildlife. If something’s living under there, let it be evicted before anyone crawls in after it.
- Signs of settling. Cracked skirting, sloped floors, or doors that won’t latch mean the piers need attention before the plastic goes down.
A professional install of a reinforced 10-12 mil barrier on a double wide in the Ocala area typically runs $1,200 to $1,800 including ground prep, taped seams, and pier collars. That usually includes a full underside inspection, which has caught more than a few problems early for our customers.
Want the exact number for your home? We give free written estimates across Marion, Sumter, and Citrus counties, and our line is answered around the clock for pre-closing deadlines. Call (352) 820-4441 or book your free estimate here.
Frequently Asked Questions
What thickness vapor barrier is best under a mobile home?
Go with 10 mil or thicker, string-reinforced polyethylene. Codes generally accept 6 mil as a minimum, and 6-mil virgin poly is fine over smooth, clean ground. But Florida crawl spaces are rough on plastic, and the upgrade from 6 to 10 mil usually costs less than $200 on a double wide while doubling the working life.
Does a vapor barrier go on the ground or attach to the bottom of the home?
The ground. A vapor barrier lies on the soil across the whole crawl space footprint, overlapped and taped at the seams. The black sheeting attached to the underside of the home is the belly wrap, which is a separate component with its own repair methods. Most moisture problems we see involve failures in one or both, so check both.
Can I just use plastic sheeting from the hardware store?
Only if it’s the right plastic. Virgin 6-mil poly that meets ASTM E1745 is acceptable, but thin painter’s plastic and bargain recycled construction film degrade in one to three years under a home. The failed sheet then has to be pulled out in pieces before a proper barrier goes in, so cheap plastic usually costs more in the end.
Will a vapor barrier get rid of the musty smell in my mobile home?
Often yes, but not instantly and not if damage is already done. A ground barrier cuts off the moisture source, and the crawl space usually dries out over several weeks with normal skirting ventilation. If insulation is soaked or mold is established on the subfloor, those need to be repaired and remediated too, or the smell will linger.